15 Best Email Signature Generator Tools in 2025

Finding the best email signature generator isn’t just about making your emails look professional—it’s about making every email work for you. A great email signature reinforces your brand, boosts credibility, and makes it easy for recipients to connect with you.
But let’s be honest—designing a sleek, mobile-friendly, and on-brand email signature from scratch is a hassle. That’s why we tested and reviewed the top email signature generators, evaluating them based on customization options, ease of use, integration with major email platforms, and extra features like analytics and branding consistency. We looked at tools for everyone—from solo professionals to large teams that need standardized signatures across an entire company.
So, which email signature generator is right for you? We’ve done the research so you don’t have to. Let’s dive into the best tools to help you create a signature that stands out and delivers results.
What to Look for in an Email Signature Generator
- Customization: Look for options to customize fonts, colors, and layouts to match your style.
- Compatibility: Make sure it works with your email platform, like Gmail or Outlook.
- Mobile-friendly: Check if it looks good on phones and tablets.
- Consistency: Find tools to keep all signatures uniform and in line with your brand.
- Legal stuff: If needed, ensure it supports legal disclaimers or compliance requirements.
- Analytics: Some offer stats like open rates and clicks on signature links.
- Easy to use: Choose one with a simple interface and drag-and-drop editing.
- Support: Check for good customer service and regular updates.
- Pricing: Compare costs and see if it fits your budget, especially for teams.
- Security: Make sure it follows security standards and keeps your data safe.
Best Signature Generator at a Glance
| Name | Price | G2 Rating | Compatible With |
| HubSpot | Free | 4.4/5 | Google Workspace |
| WiseStamp | Free version available. Starts from $69.60 / year. | 4.7/5 | Google Workspace, Outlook, Mac Mail, Yahoo Mail |
| Letsignit | Free trial available. Starts from $900 / year. | 4.5/5 | Microsoft Exchange, Microsoft 365, Azure cloud-based architecture |
| MySignature | Starts from $72 / year. | 4.7/5 | Google Workspace |
| BulkSignature | Free trial available. Starts from $11 / 10 users / month. | 5/5 | Google Workspace |
| Opensense Email Signatures | Starts from $500 / month. | 4.7/5 | Google Workspace, Microsoft Exchange, Microsoft 365 |
| Uniqode Digital Business Card | Free version available. Starts from $6 /user/month. | 4.95/5 | Google Workspace, Outlook, Mac Mail, Yahoo Mail |
| Gimmio | Free version available. Starts from $4 / user / month. | 4/5 | Compatible with 55 email clients, including Outlook, Gmail, Apple Mail, etc. |
| Rocketseed | Minimum monthly spend of $75. | 4.6/5 | Google Workspace, Microsoft Exchange, Microsoft 365 |
| Exclaimer | Free trial available. Starts from $108 / year. | 4.5/5 | Google Workspace, Microsoft Exchange, Microsoft 365 |
| Newoldstamp | Starts from $13 / month. | 4.7/5 | Google Workspace, Microsoft Exchange, Microsoft 365 |
| Mailmodo | Free | 4.8/5 | Google Workspace, Outlook, Apple Mail, and all major email clients |
1. HubSpot
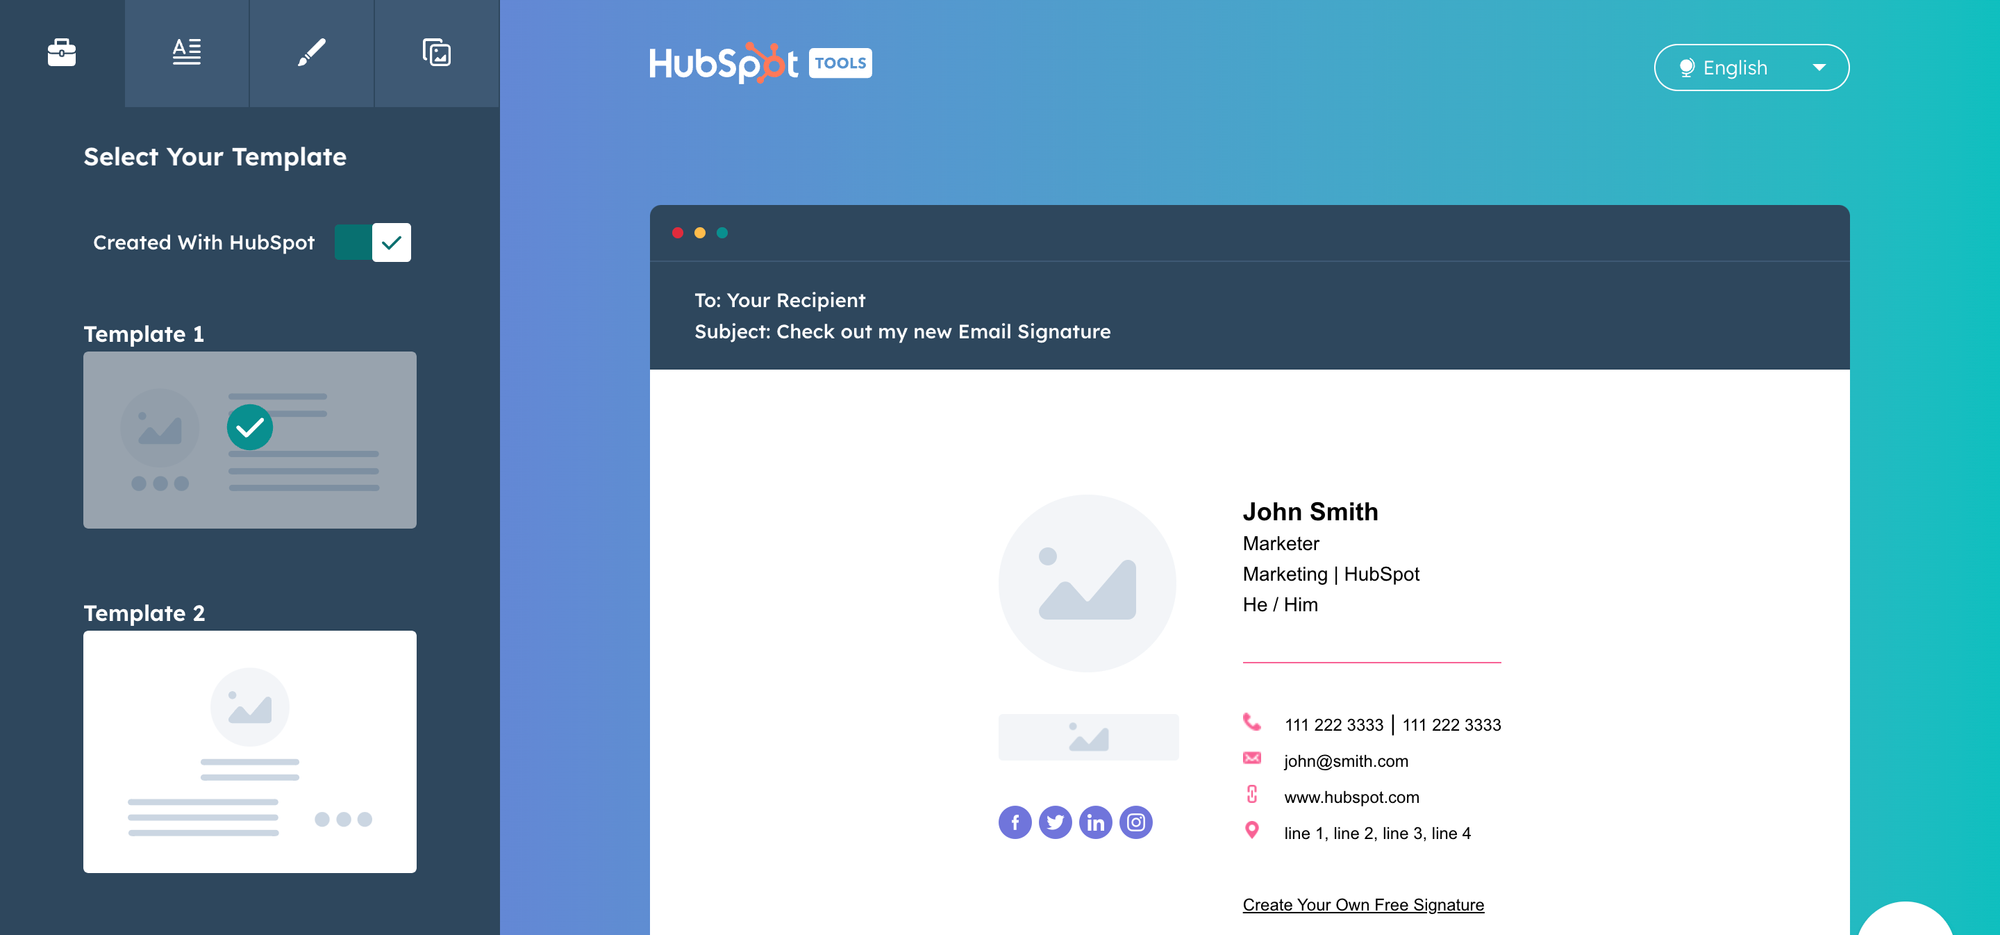
Pricing: FREE
How to use HubSpot Email Signature Generator?
- Log In to HubSpot: Go to HubSpot and log in to your account. If you don’t have an account, you'll need to sign up.
- Navigate to the Email Signature Generator: Go to the HubSpot Email Signature Generator page. You can find it by searching “HubSpot email signature generator” in your browser.
- Fill in Your Information: Enter your name, job title, company name, and contact details. You can also add your social media links if you wish.
- Choose a Template: Select a design template that fits your style. HubSpot offers various templates to choose from.
- Customize Your Signature: Customize the colors, fonts, and layout according to your preference. You can also upload your company logo or a personal photo if desired.
- Preview and Adjust: Preview your email signature to see how it looks. Make any necessary adjustments to ensure it looks perfect.
- Generate and Copy: Once you’re satisfied with your design, click the “Create Signature” or “Generate” button. Copy the generated HTML code or plain text format provided.
- Add Signature to Your Email Client: Go to your email client (e.g., Gmail, Outlook) and paste the copied signature into the email signature settings.
Pros:
- HubSpot's email signature generator is simple and doesn't need tech skills. It's made to be easy, so you can create pro email signatures fast.
- Integration with HubSpot CRM provides seamless management of contacts and campaigns.
- Customizable templates ensure brand consistency across emails.
Cons:
- You might find the options a bit basic compared to other tools. If you have specific design needs, it could feel limiting.
- No group management. You can't update everyone's signatures at once. Each person has to do it manually.
2. WiseStamp
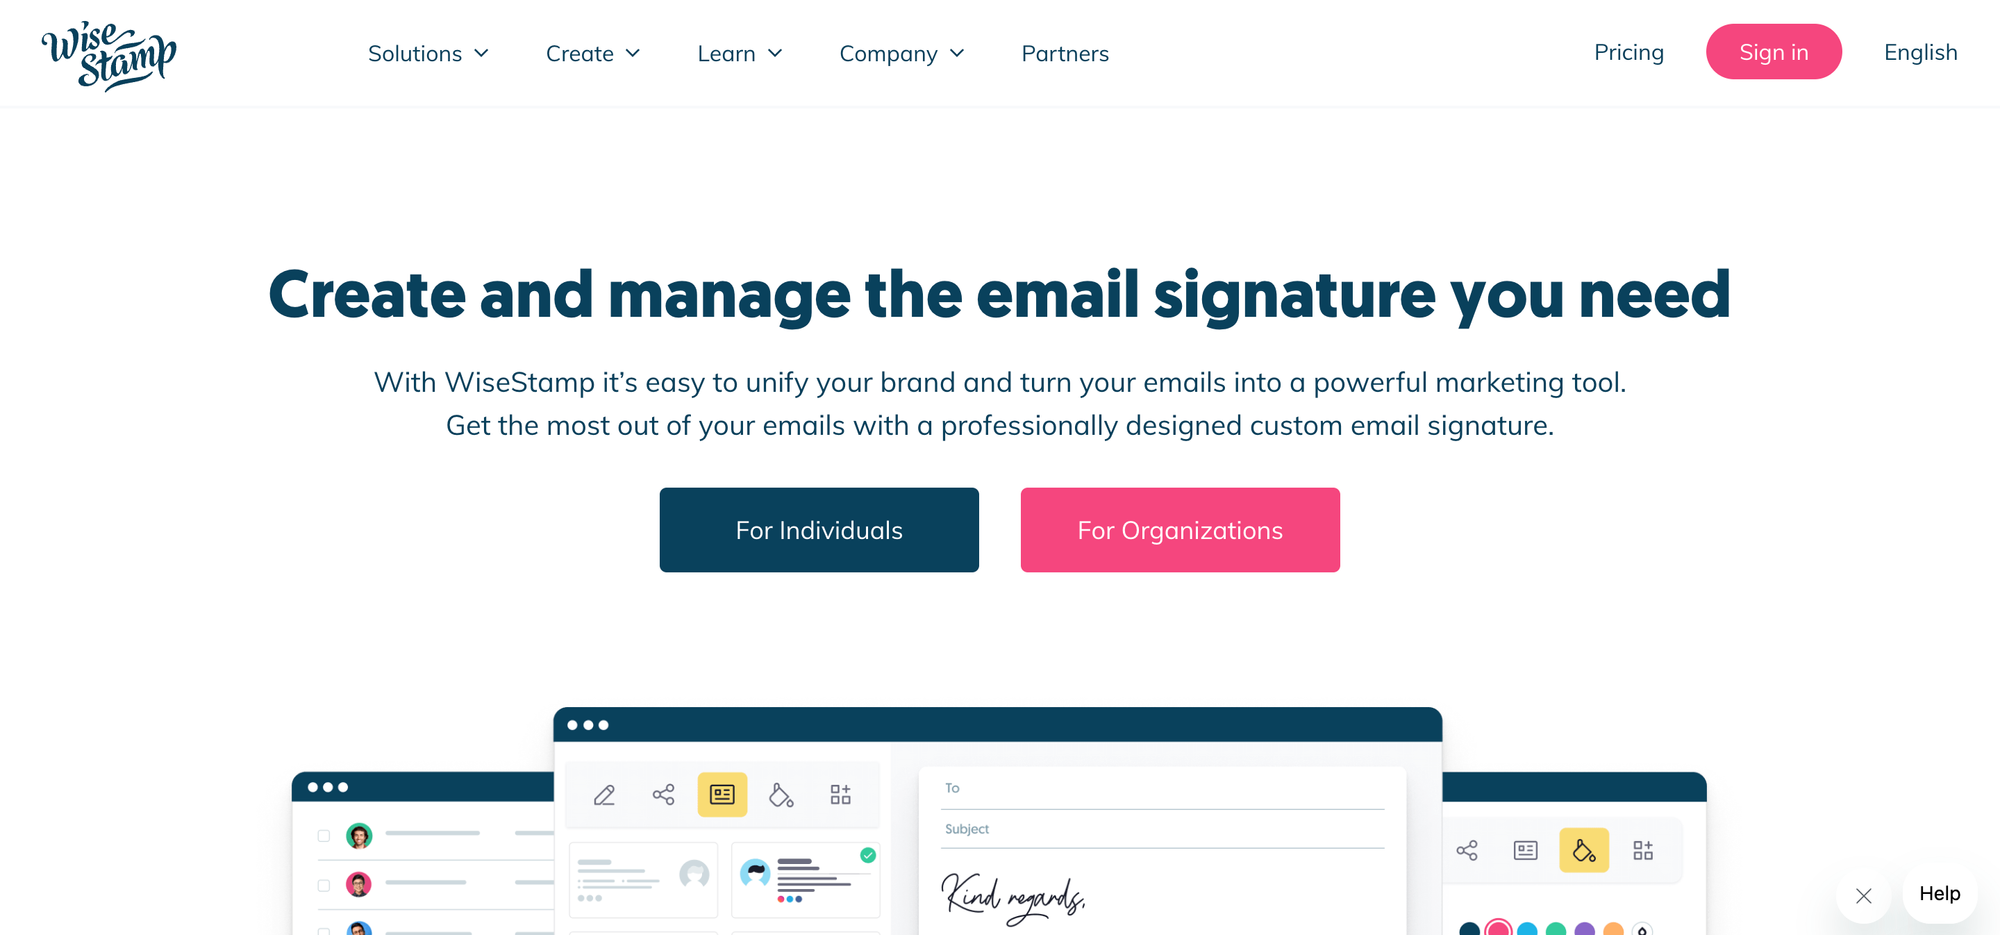
Pricing: Free version available. Starts from $69.60 / year.
How to Use WiseStamp Email Signature Generator?
- Visit WiseStamp: Go to the WiseStamp website.
- Sign Up or Log In: If you don’t have an account, sign up for a free account. If you already have an account, log in.
- Start Creating Your Signature: Click on “Create Signature” or “Get Started” to begin designing your email signature.
- Choose a Template: Browse through the available templates and choose one that you like.
- Customize Your Signature: Enter your personal details such as name, job title, company, and contact information. Customize the design by changing colors, fonts, and layout. You can also add your company logo, a personal photo, and social media links.
- Preview Your Signature: Preview how your email signature looks to ensure it appears as desired.
- Save and Copy Your Signature: Once you’re happy with the design, save your changes. WiseStamp will provide you with the HTML code or direct integration options.
- Add Signature to Your Email Client: Follow the instructions provided by WiseStamp to integrate your signature into your email client. You may need to paste the HTML code into your email client’s signature settings.
Pros:
- User-friendly interface makes it easy to create professional email signatures.
- Various template options cater to different branding needs.
- Social media integration enables users to link their profiles.
Cons:
- Limited design customization compared to some competitors.
- Some features, like removing the WiseStamp branding, are locked behind premium plans.
3. Letsignit
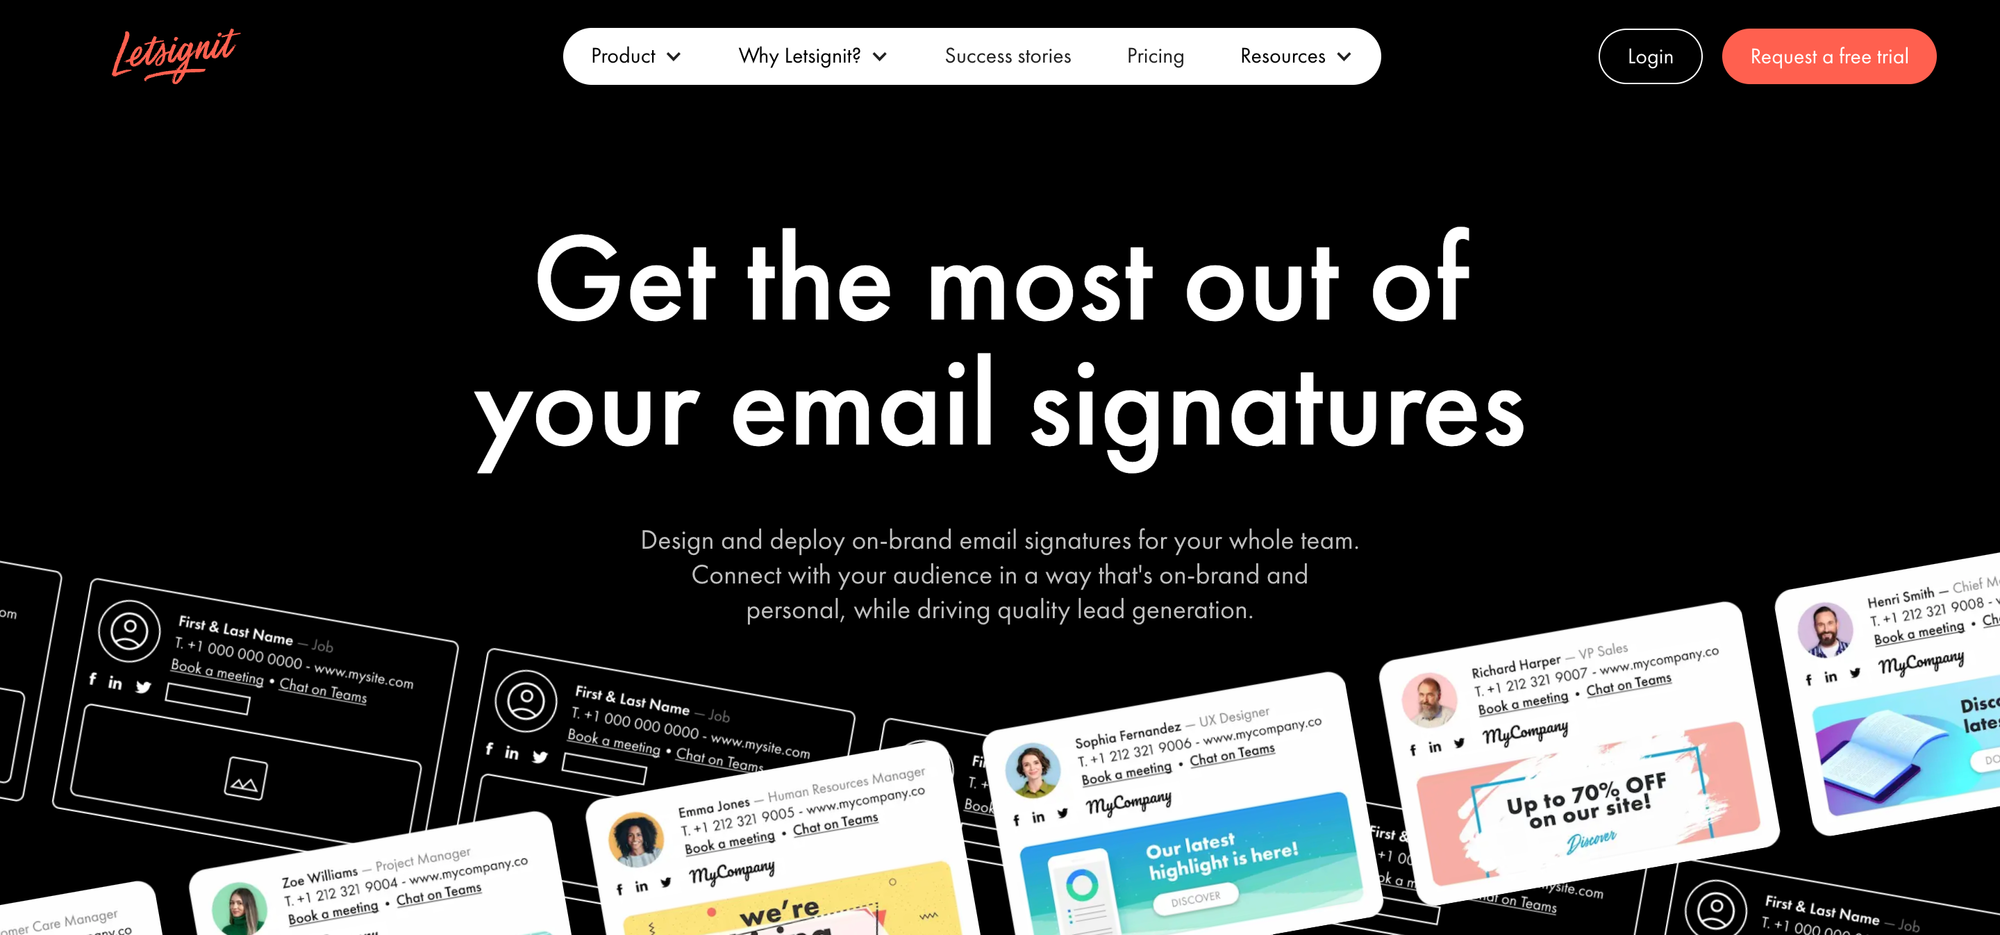
Pricing: Free trial available. Starts from $900 / year.
How to Use Letsignit Email Signature Generator?
- Visit LetSignIt: Go to the LetSignIt website.
- Sign Up or Log In: Create a new account or log in if you already have one. You may need to select a plan or start a free trial.
- Access the Signature Design Tool: Once logged in, navigate to the email signature section, usually found under “Email Signatures” or similar.
- Create a New Signature: Click on “Create Signature” or “Design New Signature” to start the design process.
- Choose a Template: Browse through the available templates and select one that suits your style or branding.
- Enter Your Information: Fill in your details such as name, job title, company name, phone number, and email address. Add any social media links, company logo, or personal photo if desired.
- Customize Your Design: Use the customization tools to adjust colors, fonts, and layout. Ensure the design aligns with your brand or personal preferences.
- Preview Your Signature: Click on “Preview” to see how your email signature will look in actual emails.
- Save and Generate: Once you’re satisfied with the design, save your changes. LetSignIt will generate the HTML code or provide direct integration options.
- Add Signature to Your Email Client: Follow the instructions provided by LetSignIt to integrate the signature into your email client. This may involve copying the HTML code and pasting it into your email client’s signature settings or using LetSignIt’s deployment tools.
Pros:
- User-friendly interface makes it easy to create and manage email signatures.
- Good for small to medium-sized businesses looking for a straightforward solution.
- Analytics provide insights into email engagement.
Cons:
- Limited template options compared to some competitors.
- May not have as many advanced features as more comprehensive solutions.
4. MySignature
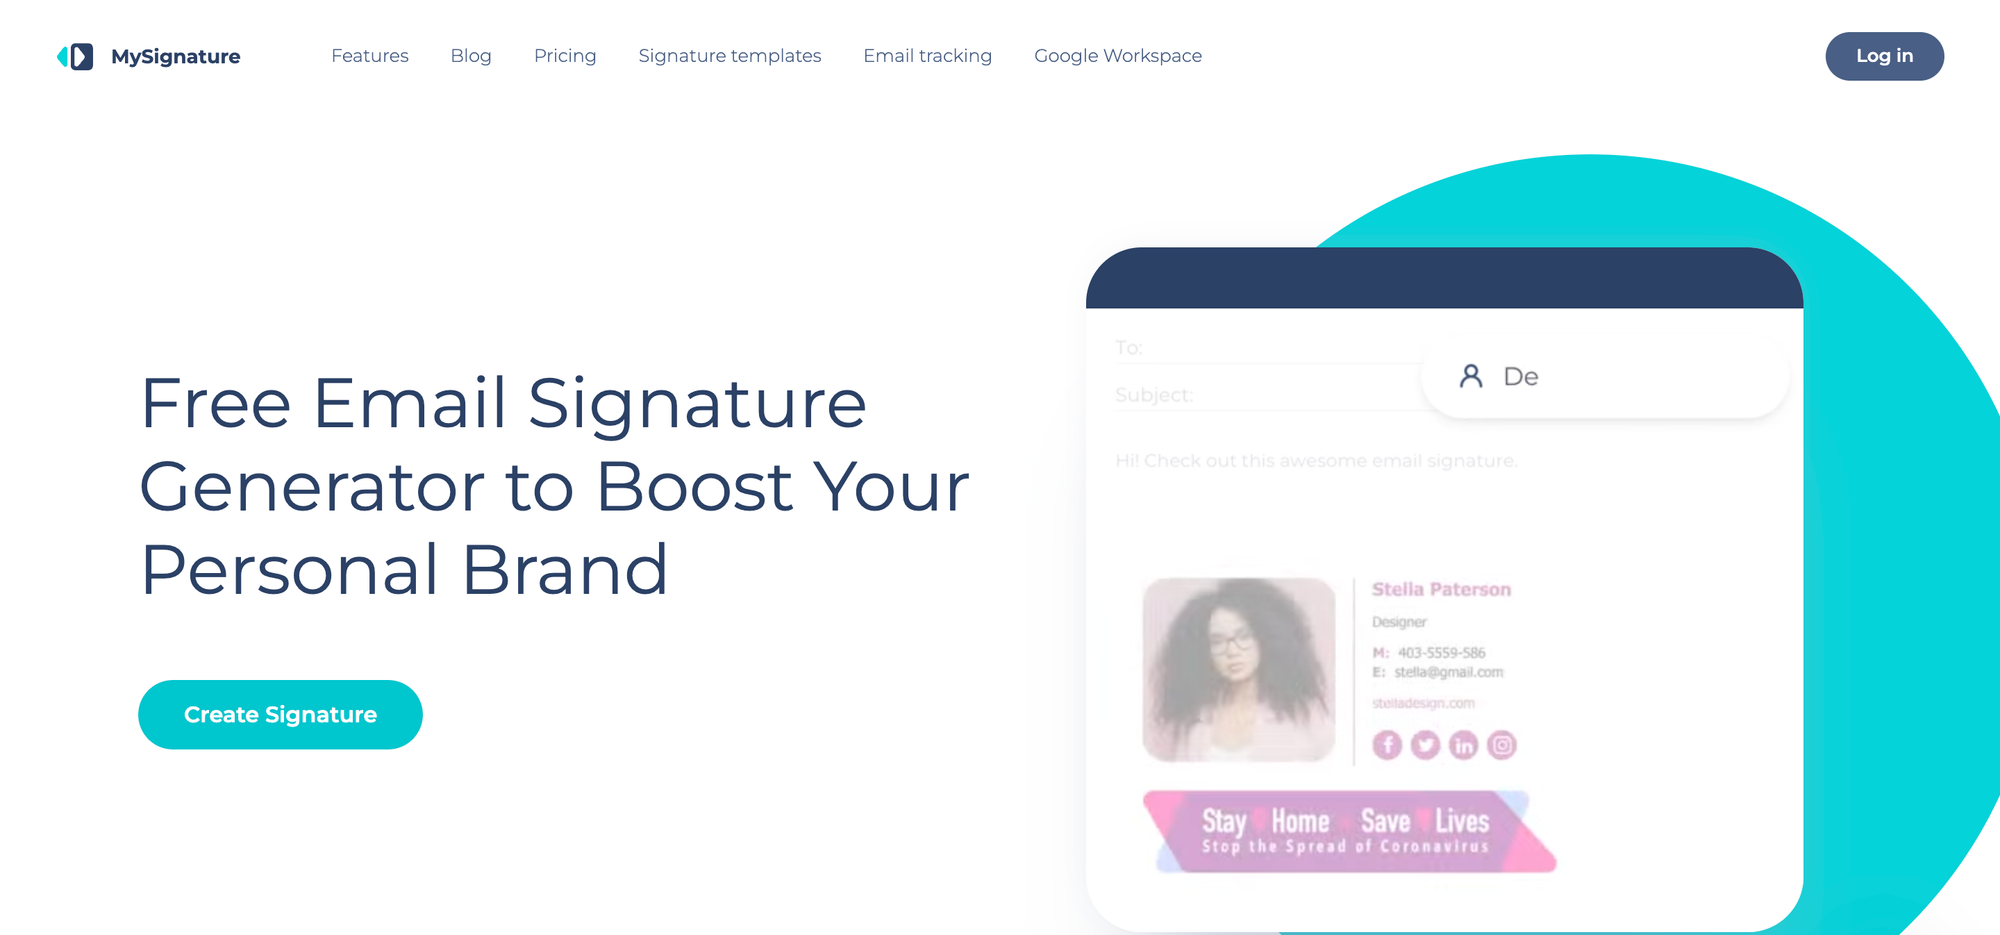
Pricing: Starts from $72 / year.
How to Use MySignature Email Signature Generator?
- Visit MySignature: Go to the MySignature website.
- Sign Up or Log In: Create a new account or log in if you already have one.
- Start Creating Your Signature: Click on “Create Signature” or “Get Started” to begin designing your email signature.
- Choose a Template: Select a template from the available options. MySignature offers various professional and stylish templates to choose from.
- Enter Your Information: Fill in your personal details, such as name, job title, company name, phone number, and email address. You can also add social media links, a company logo, and a personal photo if desired.
- Customize Your Design: Use the customization tools to adjust colors, fonts, and layout. Make sure the design matches your brand or personal style.
- Preview Your Signature: Click on the “Preview” button to see how your email signature will look in emails.
- Save and Generate: Once you’re happy with the design, save your changes. MySignature will generate the HTML code or provide a download option.
- Add Signature to Your Email Client: Follow the instructions provided by MySignature to add the new signature to your email client. This typically involves copying the HTML code and pasting it into your email client’s signature settings.
Pros:
- Free version available, making it accessible for small businesses and individuals.
- Easy-to-use interface with straightforward customization options.
- Customizable templates enable users to create professional email signatures.
Cons:
- Limited features compared to premium options.
- Branding options may not be as robust as some competitors.
5. Bulk Signature

Pricing: Free trial available. Starts from $11 / 10 users / month
How to Use BulkSignature Email Signature Generator?
- Visit BulkSignature: Go to the BulkSignature website
- Start for Free and Install the application: Click Start for Free. You will be redirected to the Google Workspace Marketplace page where you can install the application. Keep in mind that BulkSignature is an organization-wide solution. In order to install it you need to have the super admin privileges
- Log in to the application: Click Login and log in to your super admin account
- Import your company data: Click Import Now to import your company data from Google Workspace.
- Start creating your email signature: Go to Signature Management. Click Add signature. Select a template or create your signature from scratch using the available tools. Customize the design by changing colors, fonts, and layout. You can also add your company logo, a personal photo, social media links, banners, and more.
- Preview Your Signature: Scroll down to preview how your email signature looks to ensure it appears as desired.
- Save and Assign: Once you’re happy with the design, save and assign your signatures to the users in your organization. BulkSignature allows you to assign signatures to all users in your organization or to specific groups, organizational units, and even selected users.
Pros:
- Organization-wide email signature management. You can create standardized email signatures for everyone in your organization within a couple of minutes.
- Broad range of features from Campaign Management (schedule and automate banners in your email signatures) to Email Signature Segmentation (create multiple templates for different levels of your organization)
- Flexible HTML editor with rich customization options, including customizable social media icons, widgets, banners, link buttons, and so much more.
Cons:
- Not available for personal use.
- Not compatible with Microsoft 365.
6. Opensense Email Signatures

Pricing: Starts from $500 / month.
How to Use Opensense Email Signature Generator?
- Visit OpenSense: Go to the OpenSense website.
- Sign Up or Log In: If you don’t have an account, sign up for a free trial or create an account. If you already have an account, log in.
- Access the Signature Generator: Once logged in, navigate to the email signature generator tool. This may be found under a “Signatures” or “Email” section in your dashboard.
- Create a New Signature: Click on “Create New Signature” or a similar button to start designing your email signature.
- Enter Your Information: Fill in your personal details such as name, job title, company name, phone number, and email address.
- Customize Your Design: Choose a template or design from the available options. Customize the template by adjusting colors, fonts, and layout. You can also add your logo, social media links, and a photo if needed.
- Preview Your Signature: Use the preview option to see how your email signature will look in real emails.
- Save and Generate Your Signature: Once you’re satisfied with the design, save your changes. OpenSense will generate the HTML code or provide direct integration options.
- Add Signature to Your Email Client: Follow the instructions provided by OpenSense to integrate your new signature into your email client. This may involve copying and pasting HTML code into your email client’s signature settings or using integration tools.
Pros:
- Advanced branding capabilities ensure consistent corporate identity.
- Centralized management simplifies signature deployment across the organization.
- Campaign tracking provides valuable insights into recipient engagement.
Cons:
- Higher pricing compared to other options, making it less accessible for smaller businesses.
- Complexity of features may be overwhelming for organizations with limited IT resources.
7. Uniqode
Pricing: Free version available. Paid plans start at $6 per month.
How to use Uniqode Email Signature Generator?
- Create a Uniqode digital business card Account: Sign up for a free Uniqode digital business card account if you don't already have one.
- Navigate to Your Digital Business Card:
- Sign in to your Uniqode digital business card account
- Go to the "My Cards" section of your dashboard
- Access Email Signature Generator:
- Click on the share icon next to your card
- Select the "Email Signature" option next to the QR Code on the popup
- Generate Your Signature:
- The system will automatically generate an email signature based on your digital business card
- Export Your Signature:
- Copy the HTML code or download the signature file
- No customization is needed as it's automatically generated from your card
- Add to Your Email Client:
- Follow the specific instructions provided for your email service provider
- Paste the signature into your email settings
Pros:
- Seamless integration with your Uniqode digital business card ensures brand consistency
- Auto-generation feature saves time with no design skills required
- Professional networking tool that helps recipients easily access your digital business card
- Works with any email service provider for universal compatibility
Cons:
- Limited customization options as the signature is auto-generated from your card
- Requires a Uniqode Cards account to create and manage signatures
8.Gimmio
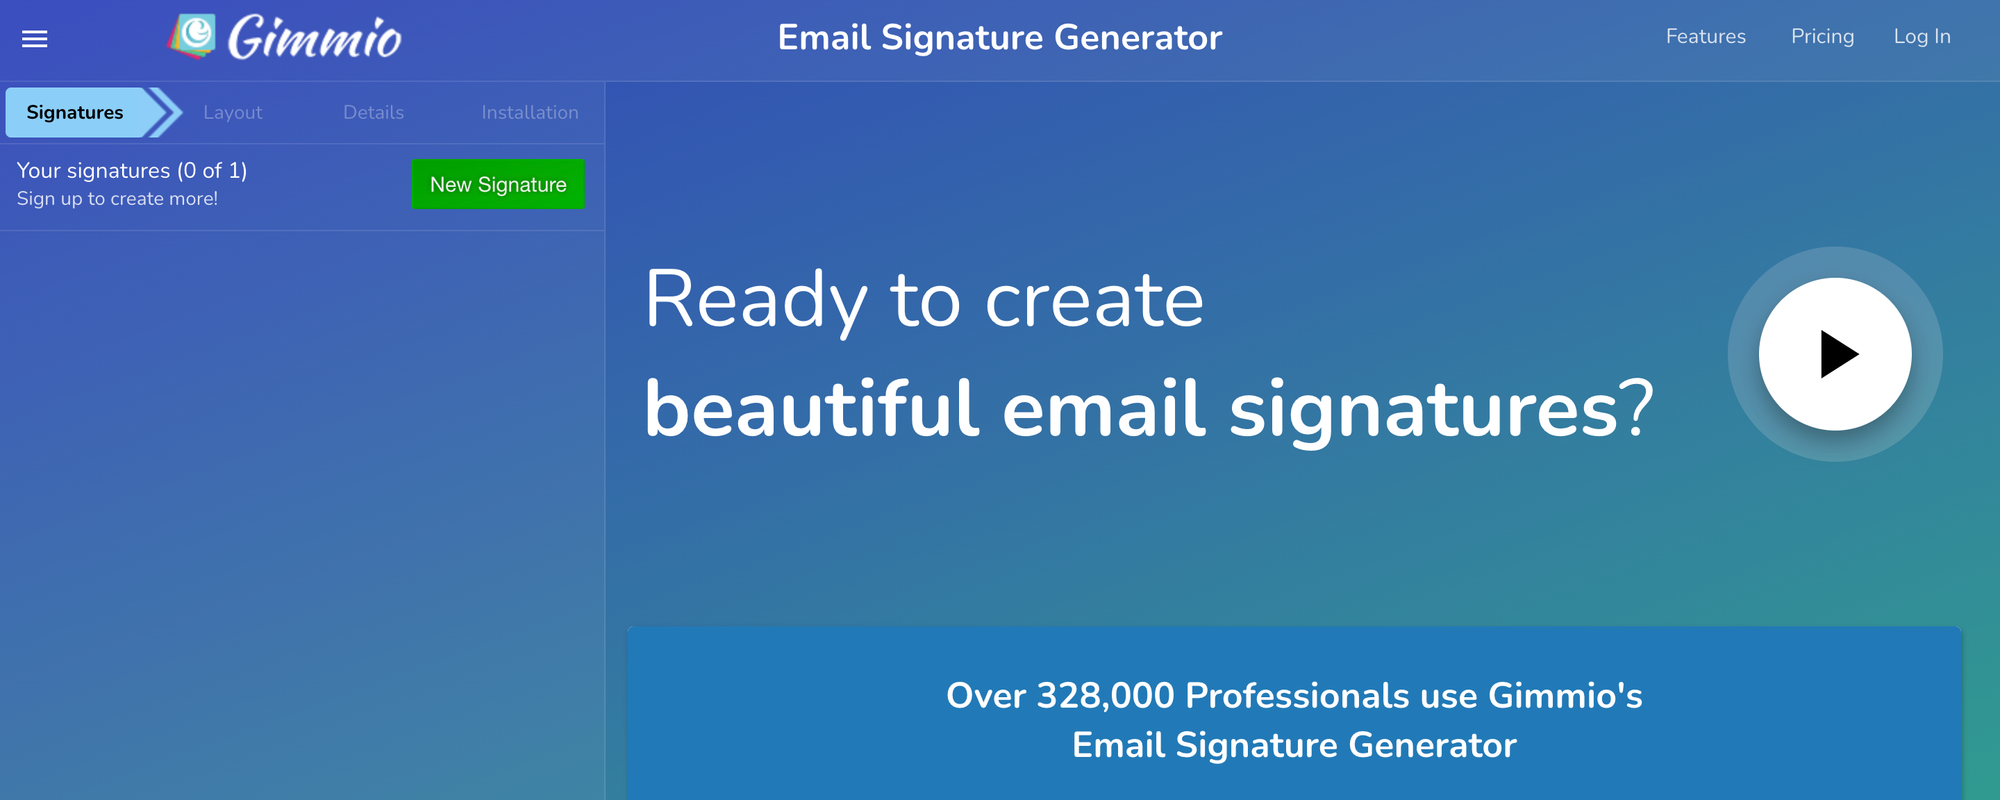
Pricing: Free (no account needed/limited features). $7 once-off purchase / signature. Subscription starts from $28.00 / year.
How to Use Gimmio Email Signature Generator?
- Visit Gimmio:
- Go to the Gimmio website
- Log In or Stay Logged Out (free):
- If you have an account, feel free to log in. Otherwise, you can use Gimmio for free without an account.
- Start Creating Your Signature:
- Click on “New Signature” to start creating your signature.
- Pick a Template:
- Scroll through over 55 professional email signature templates (they are all free to use) and select one, then click “Apply”.
- Enter Your Information:
- Fill in your information such as name, position, office and cell phone, company name, and whatever other information you deem necessary.
- Upload your Profile Picture / Logo:
- Change the default template profile picture or logo with your own to personalize your email signature.
- Customize your Signature:
- Adjust the font family, size, and color. Adjust your social icons by choosing which social platforms you want to use, changing their colors, and adding hyperlinks.
- Install your Signature:
- Click on the “Install” button, and then copy your signature to the clipboard. Then, search for your email client from the list to get detailed instructions on how to install your email signature.
- Add Signature to Your Email Client:
- Following the installation instructions provided by Gimmio, paste your email signature into your email client to complete the installation.
Pros:
- Extensive design options allow for highly customizable email signatures.
- Free version available with access to basic features.
- User-friendly interface makes it easy for non-designers to create professional-looking signatures.
Cons:
- Not specifically tailored for email signatures, so additional tools may be required for signature management.
- Limited advanced features such as campaign tracking and centralized management.
9. Rocketseed
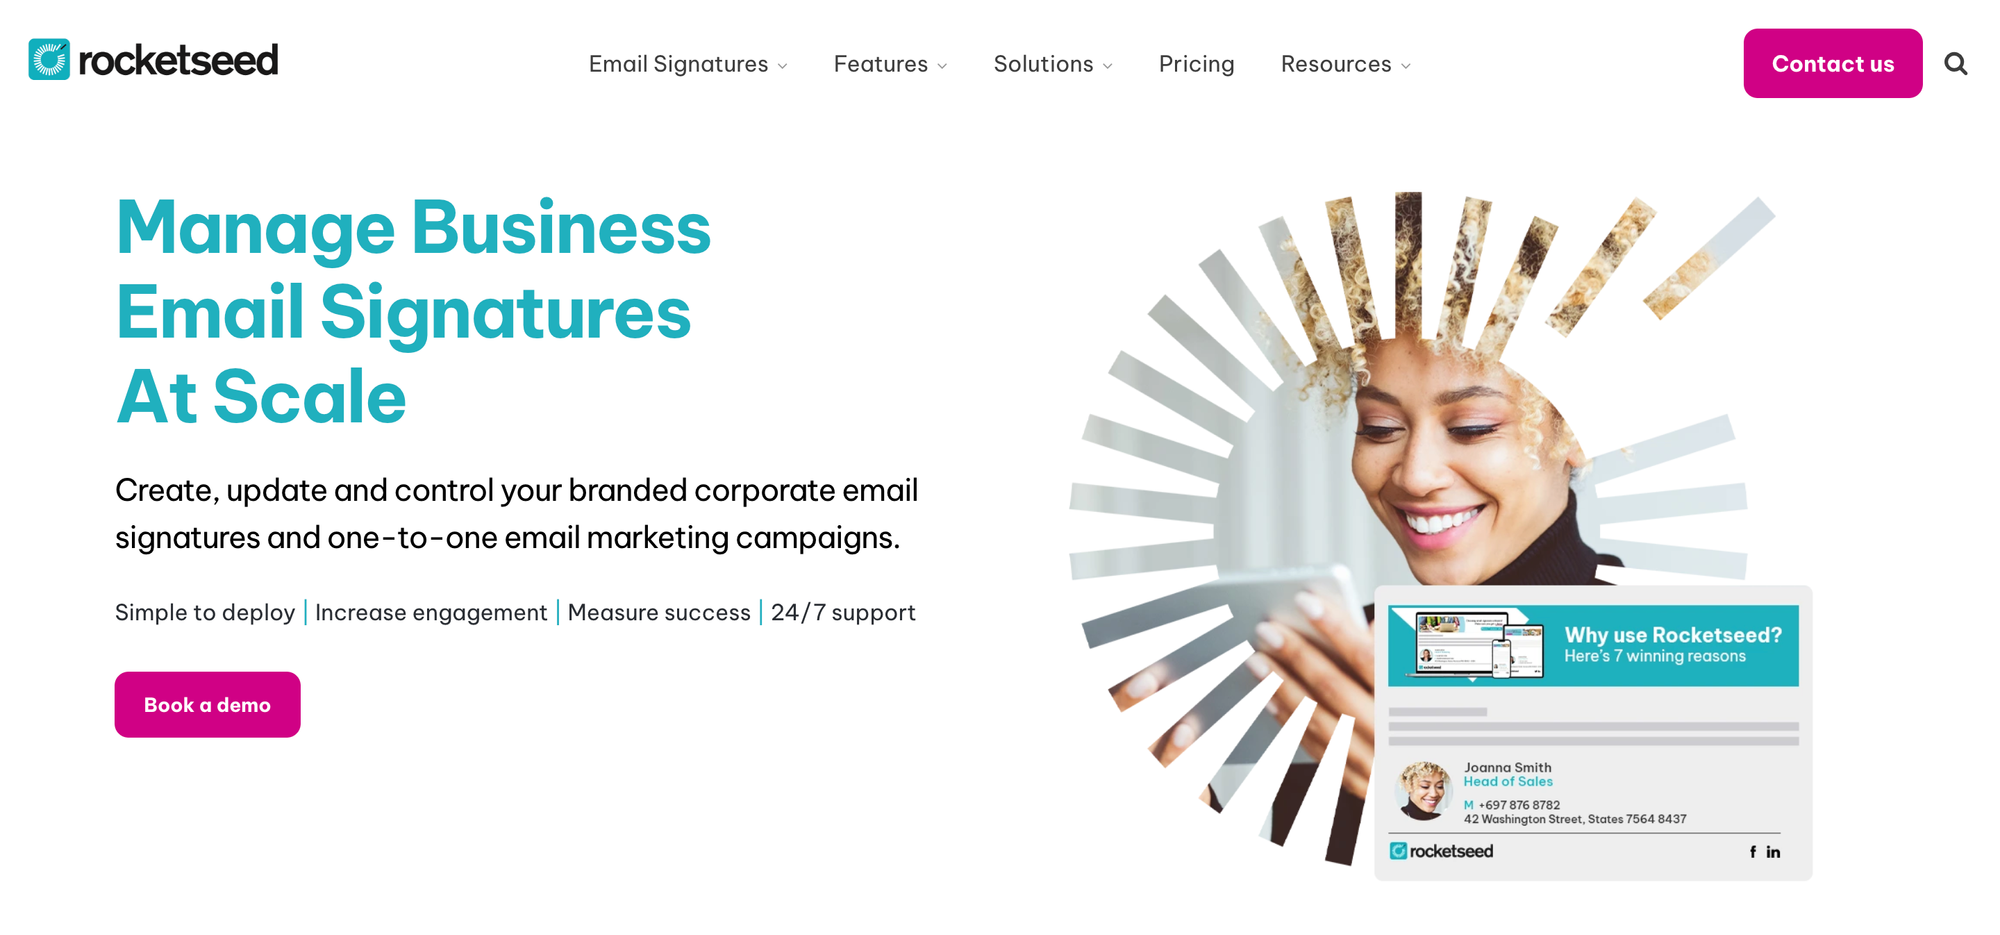
Pricing: Minimum monthly spend of $75.
How to Use Rocketseed Email Signature Generator?
- Visit Rocketseed: Go to the Rocketseed website.
- Sign Up or Log In: Sign up for a new account or log in if you already have one.
- Access the Signature Generator: Navigate to the email signature section within your Rocketseed dashboard. This may be labeled as “Email Signatures” or similar.
- Create a New Signature: Click on “Create New Signature” or a similar option to start designing your signature.
- Enter Your Information: Fill in your personal details such as name, job title, company name, phone number, and email address.
- Customize Your Design: Choose from available templates or design your own. Customize elements such as colors, fonts, and layout. You can also add your company logo, social media icons, and a photo if desired.
- Preview Your Signature: Use the preview feature to see how your email signature will appear in emails.
- Save and Generate: Once you’re happy with the design, save your changes. Rocketseed will generate the HTML code or provide integration options.
- Add Signature to Your Email Client: Follow the instructions provided by Rocketseed to add the new signature to your email client. This may involve copying and pasting the HTML code into your email client's signature settings.
Pros:
- Dynamic content in signatures allows for personalized messaging and promotions.
- Tracking and analytics provide valuable insights into email engagement.
- Ensures brand consistency across all emails.
Cons:
- Higher cost compared to some competitors, which may be prohibitive for smaller businesses.
- Setup and configuration may be complex for users without technical expertise.
10. Exclaimer
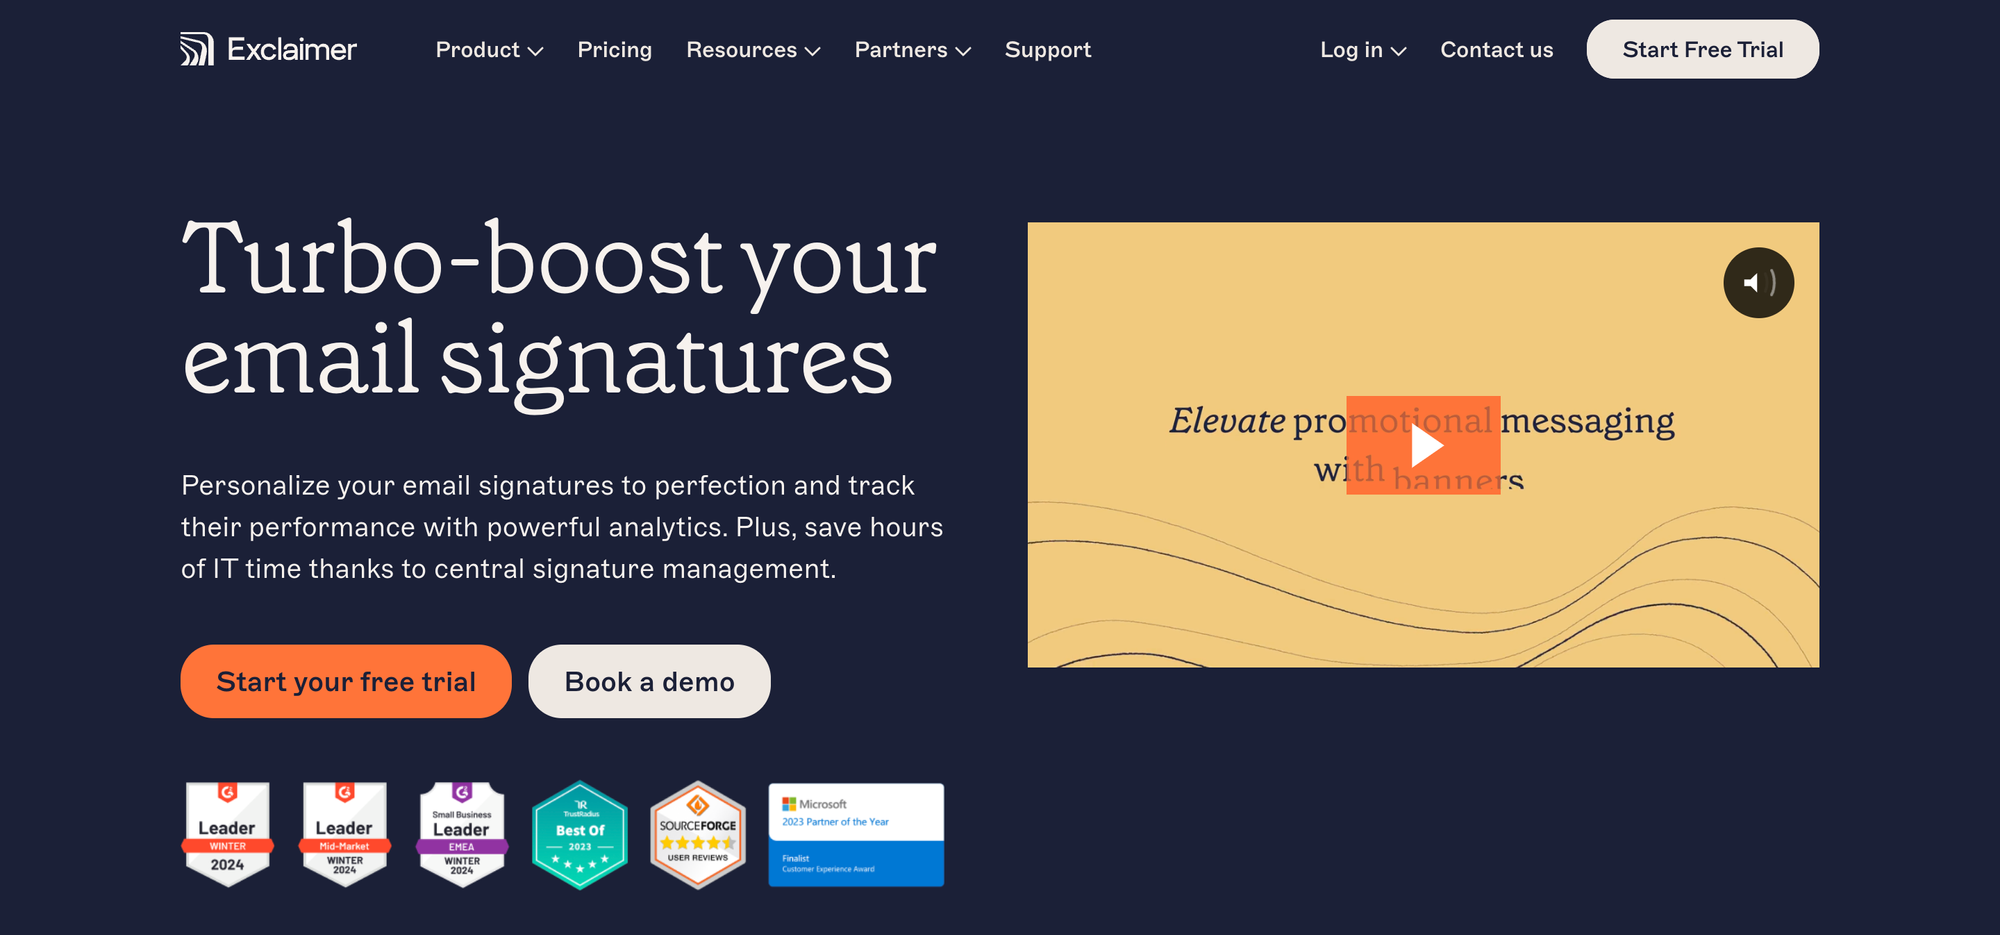
Pricing: Free trial available. Starts from $108 / year.
How to Use Exclaimer Email Signature Generator?
- Visit Exclaimer: Go to the Exclaimer website.
- Sign Up or Log In: Sign up for a free trial or log in if you already have an account.
- Access the Signature Designer: From your Exclaimer dashboard, navigate to the email signature management section, often found under “Design Signatures” or a similar heading.
- Create a New Signature: Click on “Create New Signature” or a comparable option to start the design process.
- Choose a Template: Select a template from the available options or start from scratch. Exclaimer offers a range of pre-designed templates to choose from.
- Customize Your Signature: Enter your details such as name, job title, company, contact information, and social media links. Use the design tools to adjust colors, fonts, and layout. You can also upload your company logo and personal photo.
- Preview Your Signature: Preview your email signature to ensure it looks as expected. Make any necessary adjustments.
- Save and Apply: Save your design. Exclaimer will generate the HTML code for your signature.
- Integrate with Your Email Client: Follow Exclaimer’s instructions to integrate the signature into your email client. This may involve copying the HTML code into your email client’s signature settings or using Exclaimer’s direct integration options.
Pros:
- Enterprise-level features such as centralized management and regulatory compliance.
- Customizable templates ensure brand consistency and professionalism.
- Integration with popular email platforms simplifies deployment.
Cons:
- Higher cost, especially for advanced features, making it less suitable for small businesses.
- Complexity of features may be unnecessary for organizations with simpler needs.
11. Newoldstamp
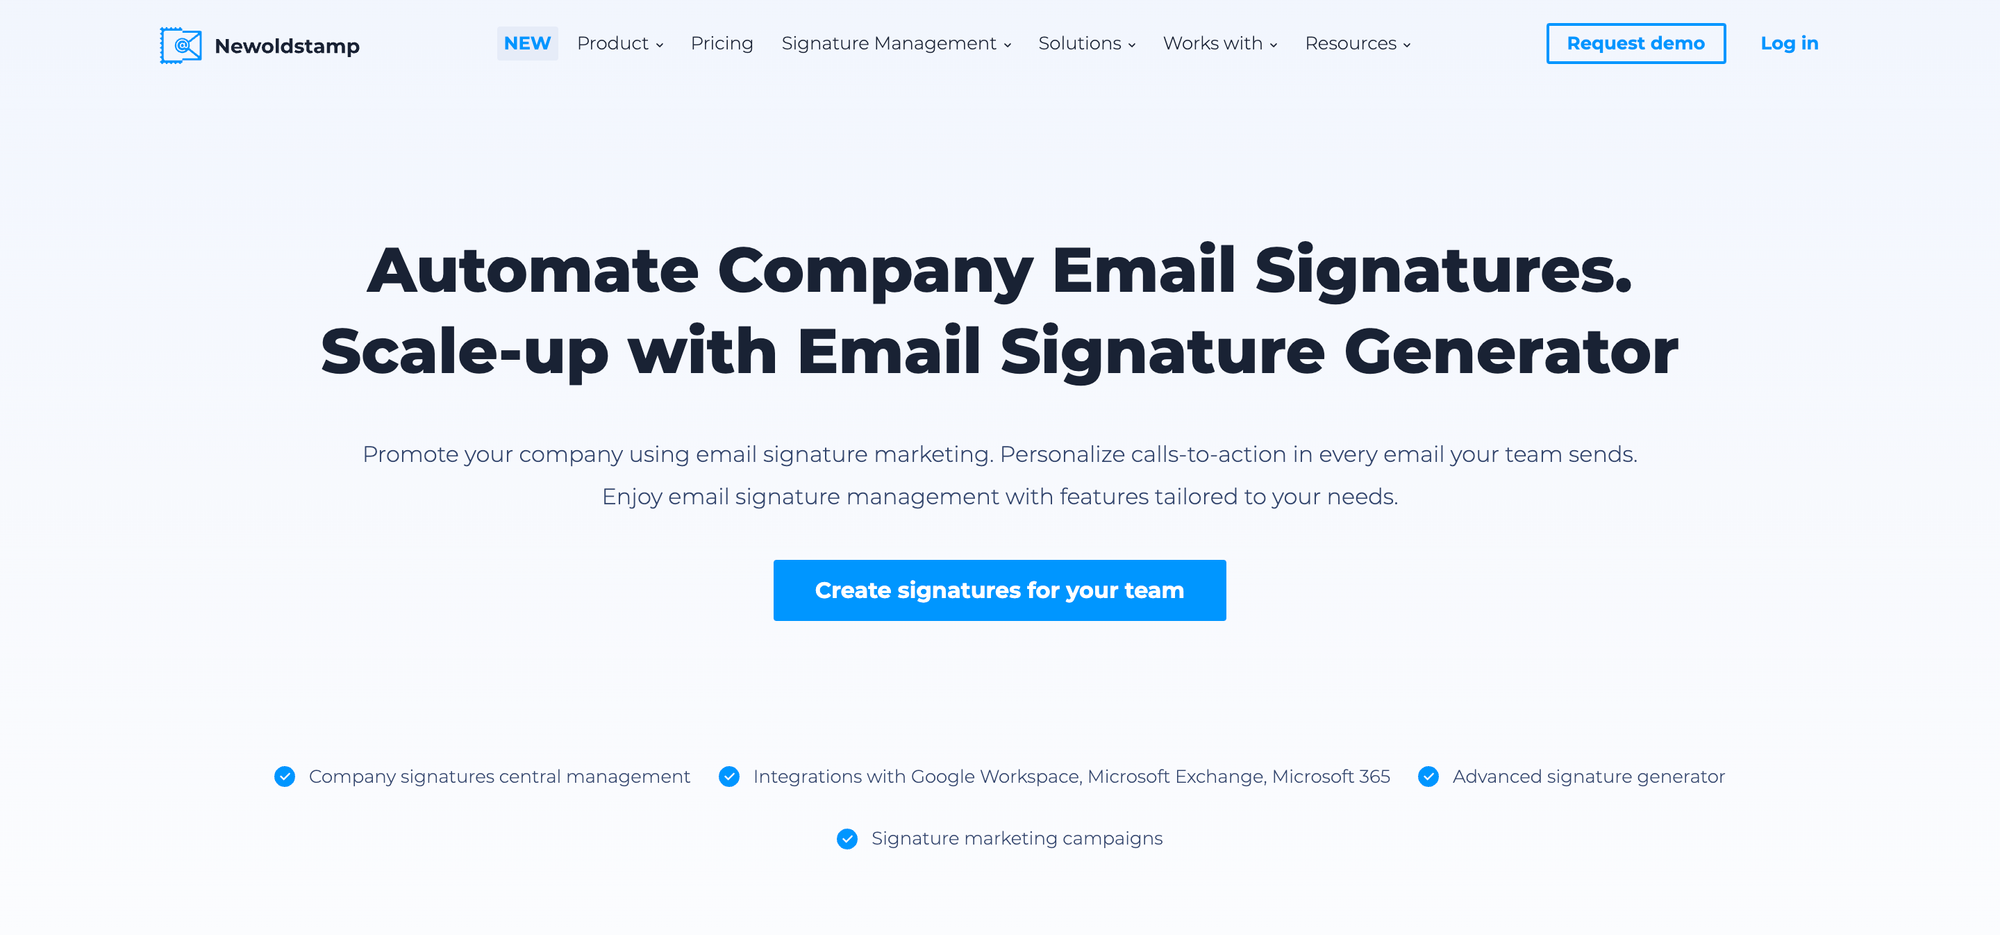
Pricing: Starts from $13 / month.
How to Use Newoldstamp Email Signature Generator?
- Visit Newoldstamp: Go to the Newoldstamp website.
- Sign Up or Log In: Sign up for a new account or log in if you already have one.
- Start Creating Your Signature: Click on “Create Signature” or a similar button to begin designing your email signature.
- Choose a Template: Browse through the available templates and select one that fits your style and needs.
- Customize Your Signature: Enter your personal details such as name, job title, company, contact information, and social media links. Use the design tools to adjust colors, fonts, and layout. You can also add your company logo and a personal photo.
- Preview Your Signature: Click on the “Preview” button to see how your email signature will look in an email.
- Save and Generate: Once you’re satisfied with your design, save your changes. Newoldstamp will generate the HTML code for your signature.
- Add Signature to Your Email Client: Follow the instructions provided by Newoldstamp to add the signature to your email client. This usually involves copying the HTML code and pasting it into your email client’s signature settings.
Pros:
- Simple interface makes it easy to create and manage email signatures.
- Good customization options allow for tailored branding.
- Social media integration enables users to link their profiles.
Cons:
- Limited analytics compared to some competitors.
- Advanced features may require higher-tier plans, limiting access for smaller businesses.
12. Signature 365
Pricing: Free trial available. Starts from $9.40 / month.
How to Use Signature 365 Email Signature Generator?
- Visit Signature 365: Go to the Signature 365 website.
- Sign Up or Log In: Create a new account or log in if you already have one.
- Start Creating Your Signature: Click on “Create Signature” or “Get Started” to begin the design process.
- Choose a Template: Select a template from the available options. Signature 365 offers a variety of pre-designed templates.
- Enter Your Information: Input your personal details, including name, job title, company name, phone number, and email address. You can also add social media links, a company logo, or a personal photo if desired.
- Customize Your Design: Use the design tools to adjust colors, fonts, and layout. Customize the template to fit your branding or personal preferences.
- Preview Your Signature: Click on “Preview” to see how your email signature will look in actual emails.
- Save and Generate: Once you’re satisfied with the design, save your changes. Signature 365 will generate the HTML code or provide download options.
- Add Signature to Your Email Client: Follow the instructions provided by Signature 365 to add the signature to your email client. This usually involves copying the HTML code and pasting it into your email client’s signature settings or using the download options.
Pros:
- Integration with Office 365 ensures compatibility with Microsoft environments.
- Customizable templates enable users to create professional email signatures.
- Good for organizations heavily reliant on Microsoft products.
Cons:
- May lack some features compared to standalone email signature tools.
- Limited platform compatibility may be a drawback for businesses using non-Microsoft email clients.
13. CodeTwo Email Signatures 365
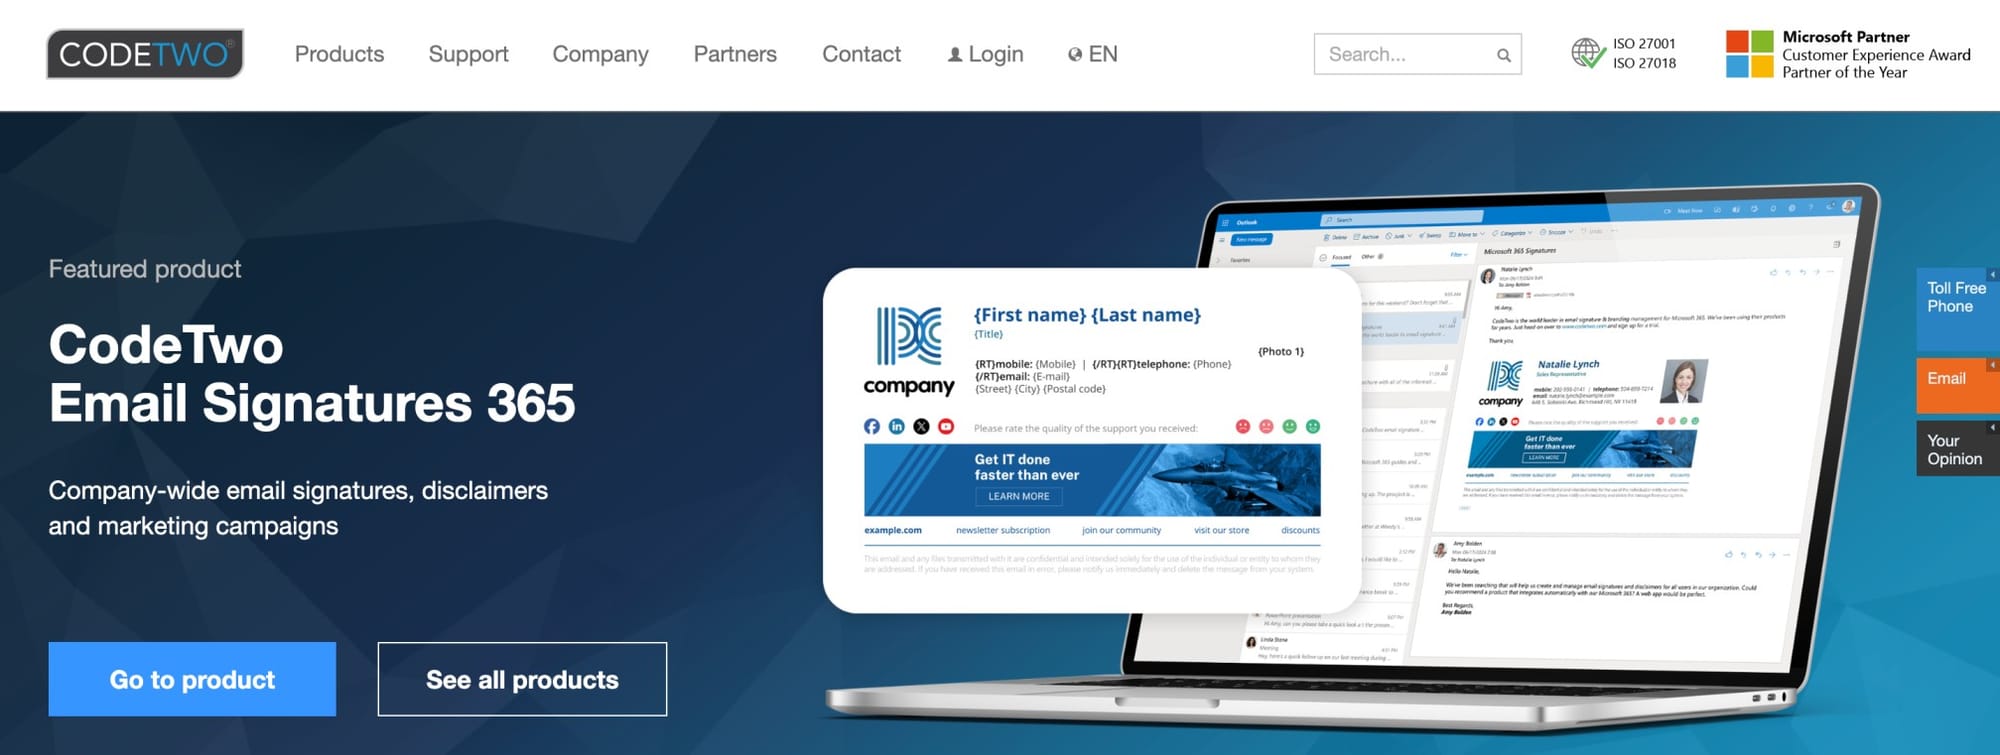
Pricing: Free trial available. Starts from $123 / month.
How to Use CodeTwo Email Signature Generator?
- Visit CodeTwo: Go to the CodeTwo website.
- Sign Up or Log In: Create a new account or log in if you already have one. You may need to select a plan or start a free trial.
- Access the Signature Generator: Navigate to the email signature section, usually found under “Products” or “Solutions” and select “CodeTwo Email Signatures” or similar.
- Start Creating Your Signature: Click on “Create Signature” or “Design Signature” to begin the design process.
- Choose a Template: Select a template from the available options. CodeTwo provides various professional templates to choose from.
- Enter Your Information: Input your personal details such as name, job title, company name, phone number, and email address. You can also add social media links, a company logo, and a personal photo if desired.
- Customize Your Design: Use the customization tools to adjust colors, fonts, and layout. Tailor the design to fit your brand or personal style.
- Preview Your Signature: Click on “Preview” to see how your email signature will look in actual emails.
- Save and Deploy: Once you’re satisfied with the design, save your changes. CodeTwo will generate the HTML code or provide deployment options.
- Add Signature to Your Email Client: Follow the instructions provided by CodeTwo to integrate the signature into your email client. This typically involves copying the HTML code and pasting it into your email client’s signature settings or using CodeTwo’s integration tools.
Pros:
- Integration with Office 365 simplifies deployment and management.
- Centralized management ensures consistent branding and compliance.
- Regulatory compliance features cater to the needs of businesses in regulated industries.
Cons:
- Higher cost compared to standalone options.
- Complexity of features may be overwhelming for users without technical expertise.
14. Signature Satori

Pricing: Free trial available. Starts from $11 / month.
How to Use Signature Satori Email Signature Generator?
- Visit Signature Satori: Go to the Signature Satori website.
- Sign Up or Log In: Create a new account or log in if you already have one. You might need to choose a plan or start a free trial.
- Start Creating Your Signature: Click on “Create Signature” or “Design Your Signature” to begin the process.
- Choose a Template: Browse the available templates and select one that fits your style or branding needs.
- Enter Your Information: Fill in your personal details such as name, job title, company name, phone number, and email address. Add any additional information like social media links, company logo, or a personal photo if desired.
- Customize Your Design: Use the design tools to adjust colors, fonts, and layout to match your brand or personal preferences.
- Preview Your Signature: Click on “Preview” to see how your email signature will look in emails.
- Save and Generate: Once you’re satisfied with the design, save your changes. Signature Satori will generate the HTML code or provide download options.
- Add Signature to Your Email Client: Follow the instructions provided by Signature Satori to integrate the signature into your email client. This typically involves copying the HTML code and pasting it into your email client’s signature settings or using provided integration tools.
Pros:
- Extensive design customization options enable users to create unique email signatures.
- Social media integration allows for linking of profiles.
- Centralized management ensures brand consistency across the organization.
Cons:
- Higher pricing may be a barrier for smaller businesses.
- Learning curve for new users, especially those with limited design experience.
15. Mailmodo
Pricing: Free
How to Use Mailmodo Email Signature Generator?
- Visit Mailmodo: Head over to the Mailmodo Email Signature Generator to get started. No sign-up required!
- Fill in Your Information: Enter your name, job title, company name, and contact information. You can also add links to your website and social media profiles to enhance your signature.
- Choose a Template: Pick from a variety of professionally designed templates. Mailmodo offers sleek and modern designs that you can personalize to reflect your brand.
- Customize Your Signature: Adjust the fonts, colors, and layout to match your style. You can also upload your company logo or a professional headshot for a personal touch.
- Add Legal Disclaimers (Optional): If needed, include a legal disclaimer to maintain compliance with your company’s policies.
- Preview and Adjust: Preview your signature to see how it looks. Make any quick adjustments to ensure everything is perfect.
- Generate and Copy: Once satisfied, click “Generate Signature” to create your signature. Copy the HTML or plain text format provided.
- Add Signature to Your Email Client: Open your email client (Gmail, Outlook, Apple Mail, etc.) and paste the copied signature into the signature settings. You're good to go!
Pros:
- Easy-to-use interface with a simple step-by-step process.
- Compatible with Gmail, Outlook, Apple Mail, and all major email clients.
- Mobile-responsive design ensures the signature looks great on any device.
- One-click copy and export options make integration seamless.
Cons:
- Limited pre-built templates compared to some competitors.
- No group management for updating multiple signatures simultaneously.
Email Signature Templates for Inspiration
1. Black and white photo with one brand color to highlight everything.

2. Minimalist design with background

3. Experimenting with neon colors
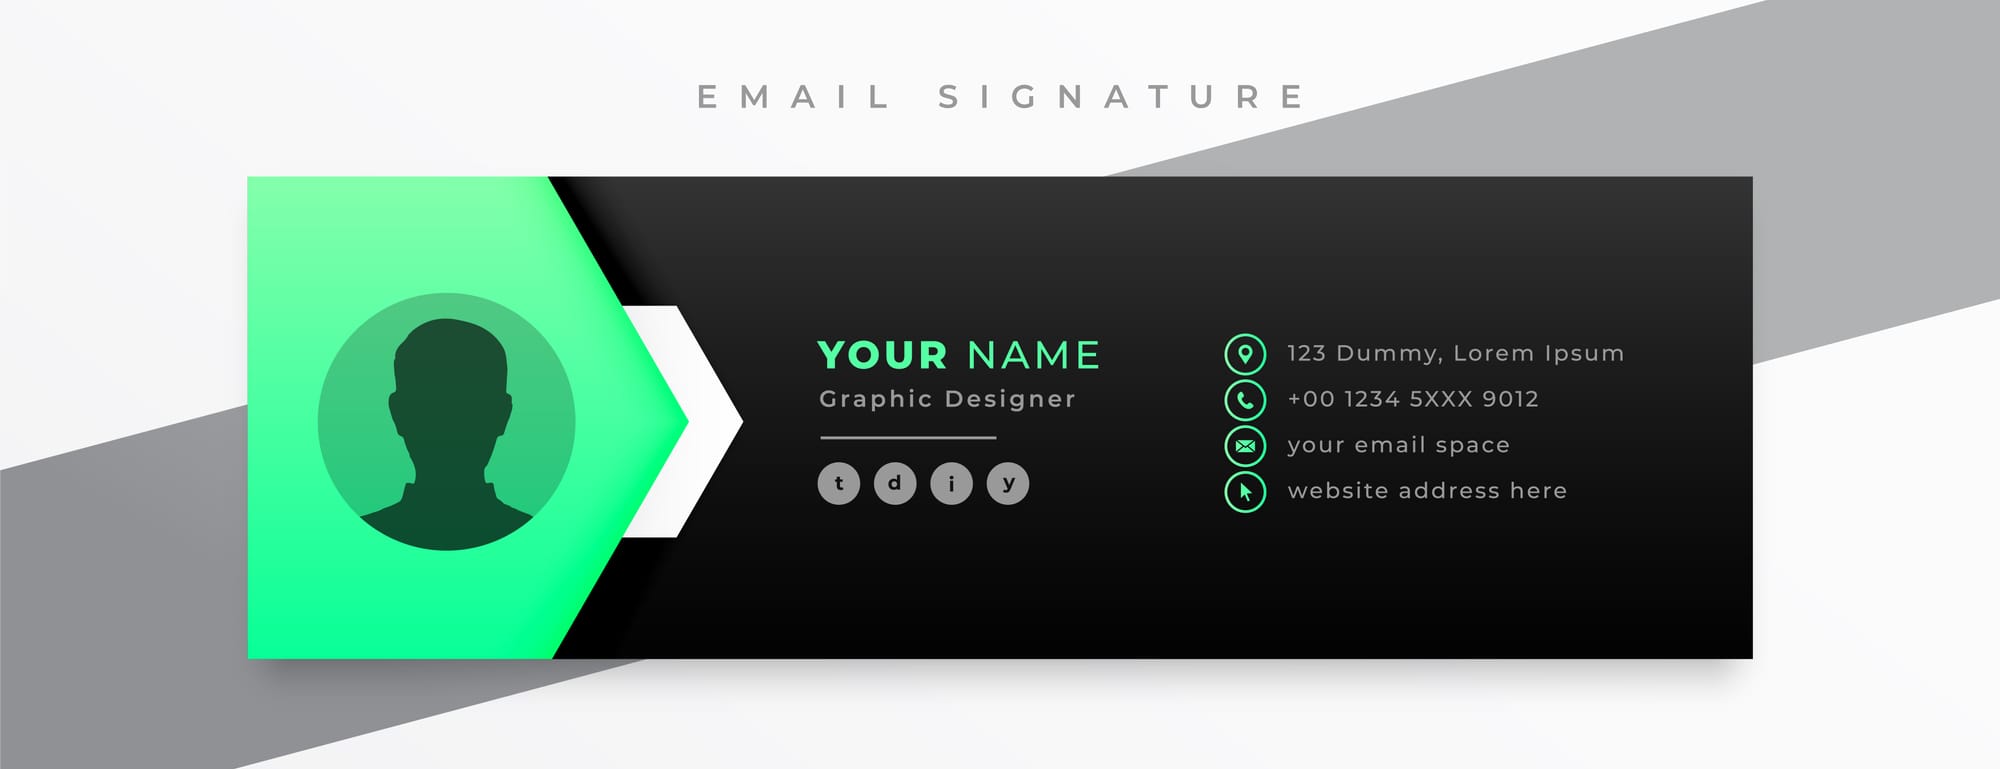
4. Without a photo

5. Black and white

Why's Email Signature Important?
Professionalism:
- Creates a positive first impression.
- Maintains consistent branding.
Credibility and Trust:
- Reassures recipients of authenticity.
- Provides clear contact details.
Convenience:
- Easy access to contact information and resources.
- Includes helpful links to additional information.
Branding and Marketing:
- Enhances brand recognition.
- Serves as a subtle promotional tool.
Legal and Compliance:
- Includes legal disclaimers and policy adherence.
- Addresses confidentiality and regulatory requirements.
Enhancing Communication:
- Sets a professional tone.
- Personalizes the communication.
Technical Benefits:
- Reduces risk of emails being flagged as spam.
- Ensures consistent formatting across devices.
Additionally, using a generator to build strong brand identity ensures that every signature reinforces your brand’s visual and messaging consistency.
Tips for Creating a Standout Email Signature
Keep it simple: Don't overcrowd your signature. Stick to key info like your name, job, company, and contact details.
Include contact info: Offer various ways to reach you, like email, phone, and maybe a physical address if needed.
Choose a pro font: Pick a clear, easy-to-read font that matches your company's style. Avoid fancy fonts that are hard to read.
Add branding: Put your company logo or colors to boost brand recognition. Make sure the logo isn't too big or overwhelming.
Add a call-to-action (CTA): Use a short CTA to prompt action, like visiting your website or setting up a meeting.
Think mobile: Make sure your signature looks good on phones. Keep it simple and avoid complex designs.
Link to social media: If it fits, add links to your LinkedIn or Twitter profiles to show your professional side.
Stay consistent: Keep your signature the same across all platforms. It shows professionalism and brand unity.
Skip extra images: While images can be nice, don't overdo it. Too many or big images can slow down emails.
Test it out: Before you finalize, send test emails to yourself and your colleagues to make sure it looks good everywhere.
Don'ts of Email Signature
Cut the clutter: Don't overwhelm your signature with irrelevant info that can distract recipients.
Keep it simple: Stick to a few colors and fonts for a polished look.
Watch the size: Avoid hefty images or animations that can slow down emails.
Stay professional: Use your work email and relevant social media profiles only.
Stay current: Update your signature with accurate info like job titles and contact details.
Don't rely on images alone: Some email clients may block images, so don't depend on them entirely.
Keep it straightforward: Make sure your design is clear and works on all devices.
Cover legal bases: If needed, include brief legal disclaimers in your signature.
Also read:
- Best Newsletter Platforms for Creators, Beginners, to Enterprise Marketers
- Best Email Tracking Software to Integrate with your Gmail and Outlook
- Best Cold Email Software [Gmail / GSuite Integration]
- Best Email Marketing Platforms for Marketers
- Best Email Deliverability Tools [Free & Paid]
- Best Email Tracking Software
- Best Email Warmup Tools
Best Email Signature Creator – FAQs
What is the best email signature creator?
The best email signature creator depends on your needs. HubSpot, WiseStamp, and MySignature are great for personal use, while Letsignit and Exclaimer work well for teams needing consistency.
How do I create a professional email signature?
To create a professional email signature, use a signature generator, add your name, job title, company, contact details, and keep the design clean. Use brand colors, a professional font, and include links to your website or social media.
What is the best signature for professional email?
To create a professional email signature, use a signature generator, add your name, job title, company, contact details, and keep the design clean. Use brand colors, a professional font, and include links to your website or social media.
How do I create a killer email signature?
To create a killer email signature, focus on clarity, branding, and engagement. Use a clean layout, add a logo, relevant links, and ensure it’s mobile-friendly. A strong CTA like “Let’s Connect” can boost interactions.

